When Mike and I started changing the way we eat, the first thing we did was try to eliminate high-fructose corn syrup and everything that sounded like a chemical mystery ingredient. Doing that obviously meant reading ingredient lists at the grocery store. Turns out, getting rid of unpronounceable chemicals is quite hard. This is especially true for bread. Turn those soft packages with their comforting images of farmsteads, grains waving in the winds, and grandma baking over, and you frequently discover a shockingly long list of ingredients that don't sound like they have any relation with the farm, the soil, and the sun. We must have inspected every package of commercial bread until we found one that wasn't too disagreeable, but the implication was clear: I was going to have to bake our bread from now on.
Now thankfully, I was raised in Sweden by a mother who was a great cook and spent a lot of time with an aunt who was an even better cook, so the notion of baking bread wasn't particularly spooky-scary as it often seems to be here in the United States. Bread baking is a matter of course in Sweden; people often seem to speak of it as an arcane art here (in hushed voices), as much out of the realm of typical activities as blacksmithing. Mostly I was concerned with finding/creating a recipe I liked for a regular daily bread that wasn't too much work (obviously it takes a lot of time for the various rises, but you don't have to do much). And I think I have found it and tweaked it to perfection.
So here's my recipe and instructions for baking our everyday bread. It turns out as a soft, golden-y bread that has a beautiful aroma (especially right after it comes out of the oven and you slather some butter all over it). Another nice thing is that it lasts for at least a week (if it lasts that long at all) without becoming stale or moldy. You can also freeze a loaf to use some other time.
I started with Rose Levy Beranbaum's recipe for basic hearth bread from
The Bread Bible, messed around with a few different types of flour and some different combinations of flour until I came up with this recipe, which my family and I really like. (By the way, if you've only got bread flour or all purpose flour, you can still make this bread, and it will be really good.) It makes two generous loaves.
Step 1: Make the dough starter or sponge
In a bowl, combine
- 1 and 1/4 cup bread flour
- 1 and 1/4 cup wheat flour
- 1 bare teaspoon dry active yeast
- 3 teaspoons honey (this is food for the yeast and doesn't sweeten the bread, although I find that using an orange blossom or raspberry honey can add a very subtle but nice aroma)
- 2 and 2/3 cups of room temperature water
Beat these ingredients together with a whisk until they are smooth (at least two minutes). You want to get as much air in there as you can. When you are done beating, scrape down the sides of the bowl.
Step 2: Make the flour mixture
In another bowl, mix together
- 1 cup oat flour (I am convinced this is what keeps the bread soft and creates such a great aroma)
- 3/4 cups + 2 tablespoons whole wheat flour
- 1 and 3/4 cups + 2 tablespoons bread flour
- 1 teaspoon dry active yeast
Cover your dough starter (sponge) with the dry flour mixture, ensuring that all the wet part is covered. Sprinkle 3 teaspoons (or 1 tablespoon) salt over the top of the dry ingredients.
Cover the bowl with plastic wrap and set it in a warm place to develop flavor for at least an hour and up to four. The dough starter will bubble up through the flour mixture, and that's OK!
(You can also let it develop flavor overnight if you like. To do this, let the bowl stand out for at least an hour to make sure the yeast wakes up, then pop it into the refrigerator. When you want to start making the bread, let the bowl sit out at room temperature for an hour before you do anything with it so that it warms up enough to get the yeast going again. I find that if I leave it overnight, it doesn't rise quite as much and isn't quite as soft, but it does taste good.)
Step 3: Mix and knead the dough
(OK, if you don't have a decent stand mixer and a dough hook, this step will be tough. Your arms will get quite the workout.) Assemble your bowl on the stand mixer and attach the dough hook. Start the mixer on low speed and slowly raise your bowl up to the hook (this helps avoid flour flying everywhere). Mix slowly until the flour and the dough starter are completely combined. The dough will be a bit sticky at this point, so let it rest for about 20 minutes to develop gluten and absorb the liquid, and then the dough will be easier to work with.
Next turn the dough out onto a floured board and knead it for 10-15 minutes.
Ha! As it turns out, you don't have to do this. Apparently the rising action of dough will cause it to knead itself, but I still like to let the machine work it over for another three to four minutes before I set it to rise. And supposedly the amount of time that you spent kneading used to be considered a symbol for how much you love your family, so if you feel like proving that, have at it. I knead about half the time; it depends on how much time I have available and how strong I am feeling.
Step 4: Let it rise, let it rise, let it rise
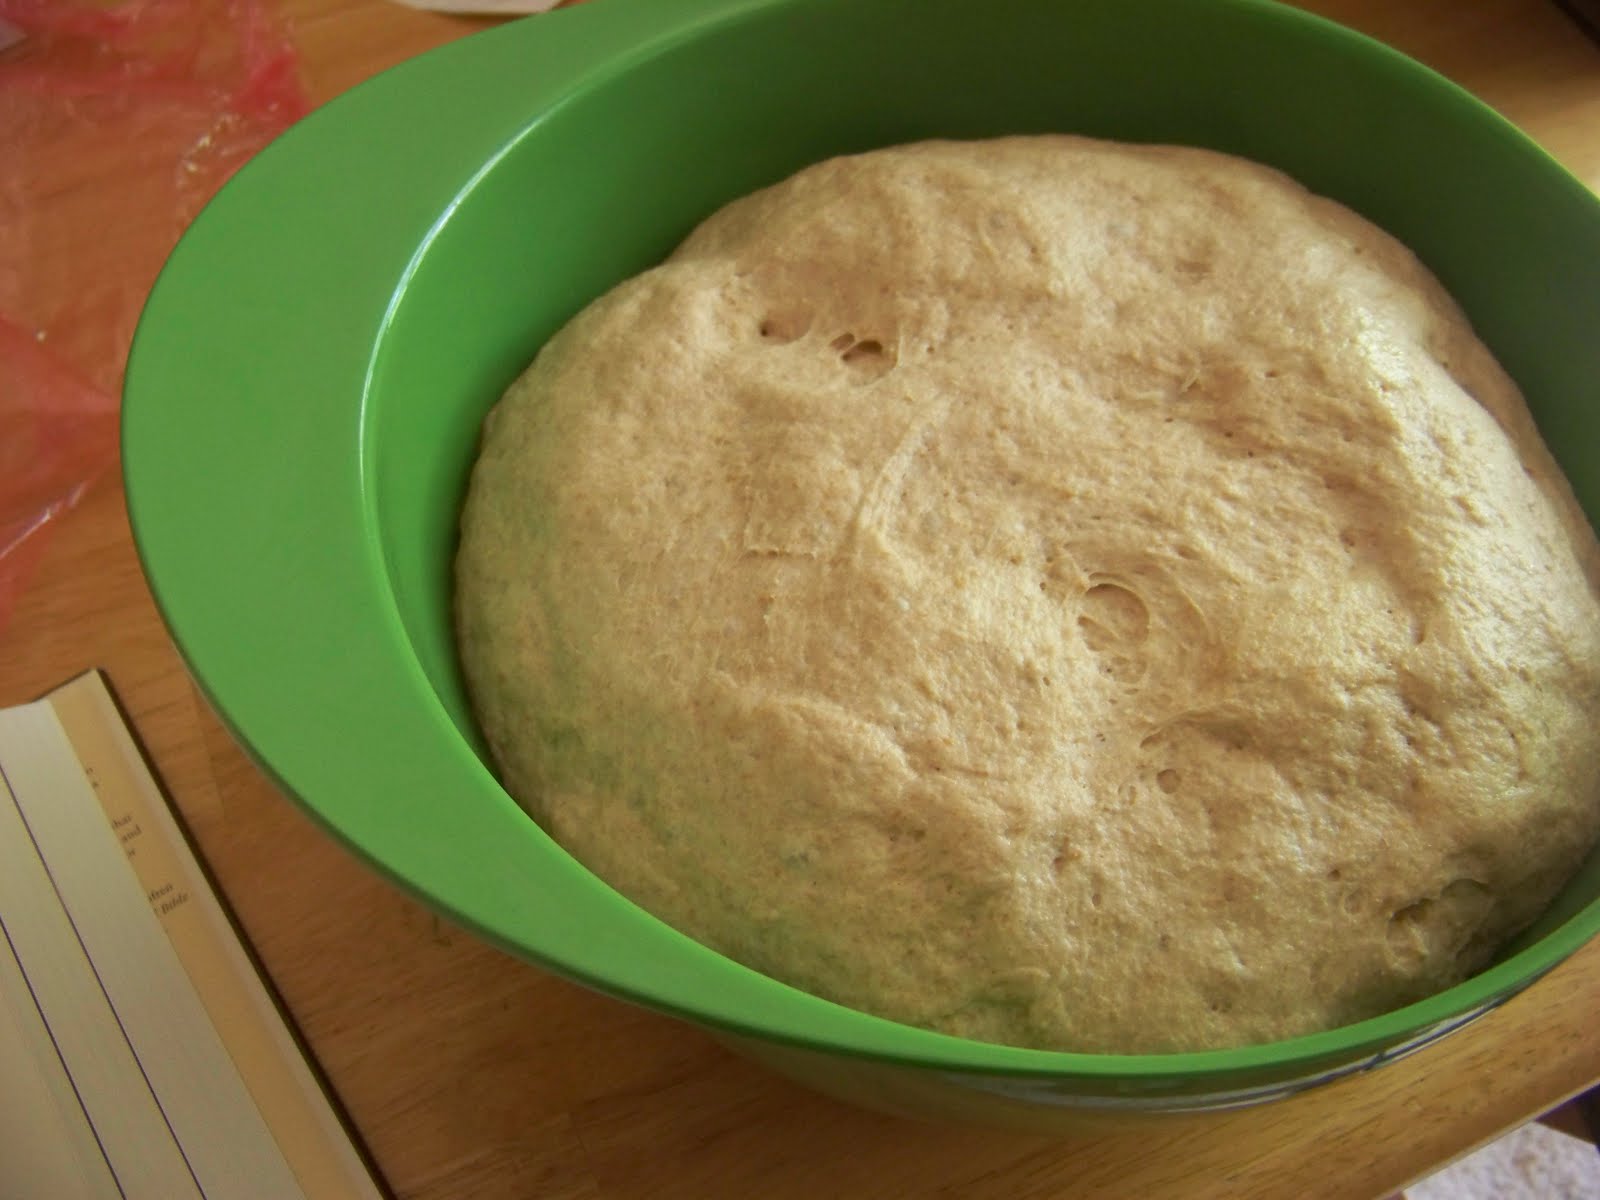
After you have mixed together the dough, let it rest for 20 minutes, and kneaded it either by machine or by hand, you'll have a nice dough ball. Oil a bowl, put the dough ball in and turn it over a couple of times to get oil all over it, and cover it with plastic.
Let it rise in a warm place for about two hours (I find a sunlit window to be a perfect place) until it's about double the size:
Now turn the dough out onto a floured board and flatten it with your hands into kind of a big pancake:
Fold the pancake like you would fold a business letter (three folds). (Beranbaum calls this a "business letter turn.") Then place the seam side down and round in the edges and put it back in the bowl to rise a second time. Once again, let it rise to about twice its original size (the second rise usually takes less time, about 1 hour and 15 minutes).
Step 5: Shape the loaves and prep the oven
When the dough has risen to twice its size for the second time, it's time to shape the loaves and start prepping the oven. First, turn on your oven to 475 degrees (Fahrenheit). If you happen to have a pizza stone, put it in the oven (that will keep the temperature more consistent). I think you can also use clean bricks. Also put a pan that will hold about two inches of water on the bottom of the oven (just the pan, no water yet).
Then oil your pans (even if they are nonstick). (I use loaf pans that are 23.5 x 13.3 x 6.99 cm. Big loaf pans, basically.)
Turn your dough out onto your floured board and divide it in half (a dough scraper is kind of genius tool for this, but a big knife will do the trick just fine). Try to make the two halves as even as possible, but I wouldn't worry too much about getting them perfect.
Then, starting with one ball, flatten and shape the dough into a rectangle.
Fold it like you would a business letter:
Next, roll from the narrow end with the seam on the inside of the roll. Keep stretching it out to the sides until you have a cylinder.
Place the roll into your bread pan with the seam toward the bottom. Do the same thing with the second half of the dough.
Let the dough rise in the pans until it stands about an inch above the edge of the pan:
Step 6: Bake the bread
When it's time to bake the bread, get about a cup of ice cubes and put them in the pan at the bottom of the oven. (Ha ha, you should hear about the time when I tried doing this with an oven-safe, GLASS pan; It didn't go too well, so don't do that.) Then mist the inside of the oven with a clean spray bottle full of water. Slide the loaves in fast and close the door.
Bake at 475 degree for 10 minutes.
Reduce the heat to 425 degrees and bake for 20-30 minutes (I usually split the difference and it works well). You will know your bread is done when the edges pull away from the sides of the pan a bit and it sounds hollow when you thump it with your finger.
Step 7: Cool the bread
When the bread is done, take it out of the oven and slide it out of the loaf pans (usually it slides out pretty well, but you may need to go around the edge of the pan with a butter knife). Let the bread cool completely on a baking rack. If it doesn't cool completely before you store it in bags, the steam generated can leave the bread damp and ooky, which will encourage mold.
Now have at it!